


Hi Gang
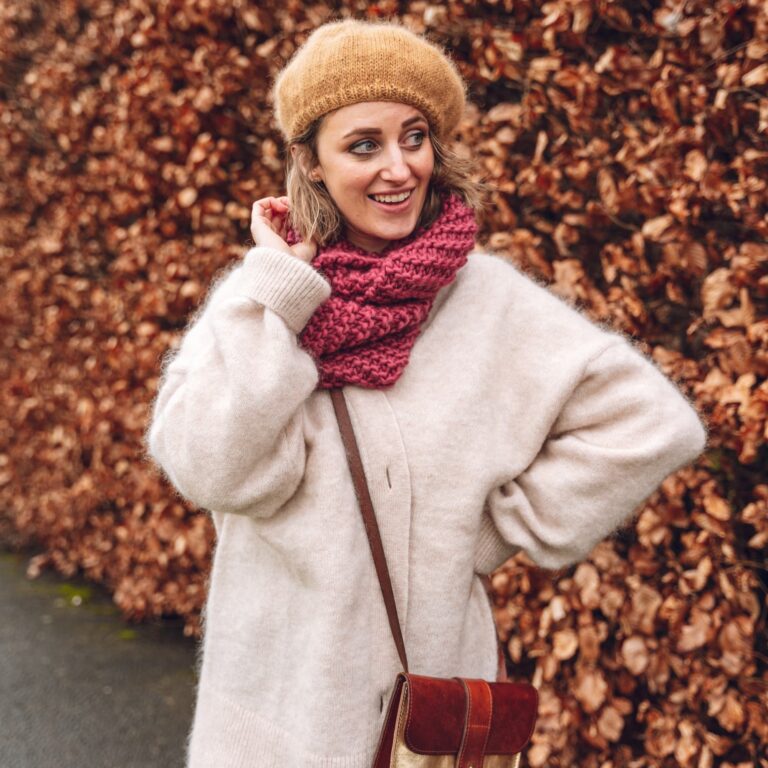
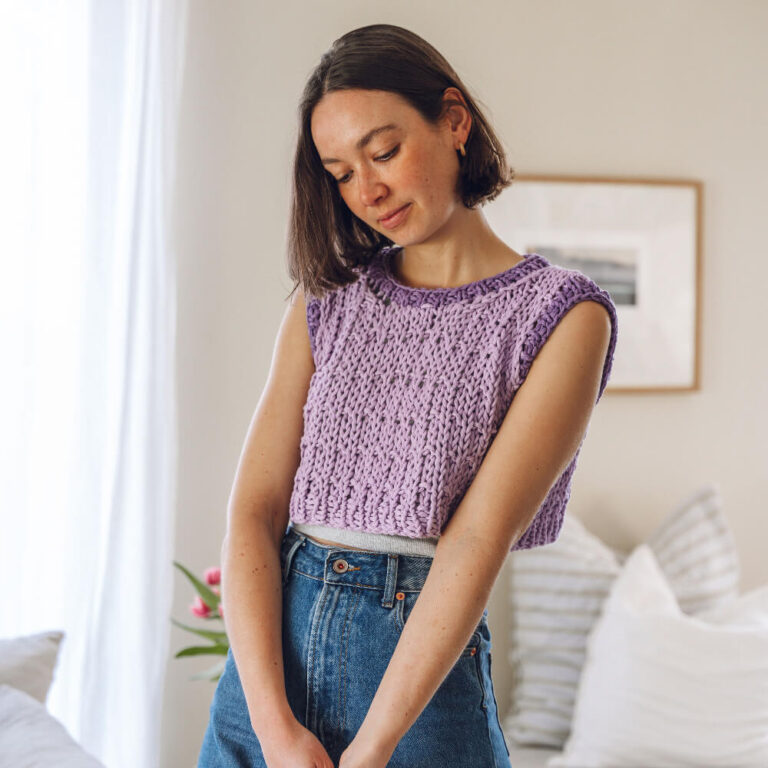
How’s your Wednesday? It’s a bright and sunny one here which makes an epic change! So here I am indoors writing the blog ;)… I know we talked photography last week but this week I couldn’t decide on the subject so I put it to vote on Instagram to choose which blog I should write, the options were ‘How to Style Your Knit Kit Jumper’ or ‘Behind the scenes of Instagram Photos’ and the BTS just pipped it. (49/51 it was a close call!) Rest assured I’ll do the Jumper styling post very soon! The cropped jumper is perfect for spring so I’ve been wearing it a lot and have ALL the ideas.
How to Choose
So let’s talk IG pictures! I thought the best way to do it was check out which of my images were the most popular on Instagram and share a little background info about them then whiz through a few others with some quick and easy hacks. I’m sure you know but you can do this on the app if you’re a business account by going to your profile, clicking the little bar graph in the top right hand corner which takes you to your insights. Insights are really useful for checking out who your audience is and which of your posts they like (more on that below). Once you’re there, tap ‘content’ and you’ll see your popular posts and your recent stories (and any information on promoted posts if applicable.) I went to ‘see more’ on the posts section where I could then see all my posts arranged by impressions, likes, website clicks etc (it’s SUPER USEFUL!)
Using Instagram Insights
Side note – this is a great way to help you create content, if you’re struggling for ideas, have a look at which pictures are getting the best response. Consider why, and how you could recreate it fresher (simply reposting or recreating it very similar often isn’t the answer as the bar is now so high, it’s great to see newness …although of course if it’s been ages since you last posted it and you have a lot of new followers now who wouldn’t have seen it then it can be nice to share it again.) Use your insights to figure out how your audience is reacting. You can see which images bring in the most followers, which ones lead to the most website clicks and which spark the most conversation (always wonderful for the frightful Instagram Algorithm!) Obviously asking a question in your caption will help encourage comments but consider which questions have been more engaging than others and why? Is it to do with the image or is it simply a good debatable subject?….. anyway, I digress!
Top Pic(ks)
(see what I did there?)
One of my top ranking pictures was my first ever borrowers post which I recently did a blog about so I’m going to sidestep that one, but here’s the link if you wanted to read how I create the borrowers images. Other than borrowers and giveaway posts (which I don’t count) the top three are …
Knitting in the park – Teal blanket on bed – Three of me (business birthday)

![]()

Three of me
Let’s start with the one that took the most tech work.
Reason for picture: 3 year Business Birthday
Initial Idea: A nod to All That Is She and her ‘All That Is Three’ series with a ‘me’ for each year.
Colour Choice: Wanted to use the Pink for a pop, the rest just seemed to work well with it.
Time: approx 3 hours (1 hour for set up and taking pictures, 1 hours editing)
Method: Tripod and remote shutter on phone (in my pocket and on the floor – hit with my foot!)
Process: Take photos for each ‘year’ making sure year 1 had enough space to the right of me to fit 2 more in. Select favourites for each year that would work together.
Edits: Once I’d got the shots I used photoshop to set the first image – this mainly involved cropping it and removing the plug socket from the image then flipping it (discussed below.) I then cut round year 2 & 3 ‘me’ and placed them on the year 1 image. I had to check sizing & colours a lot to make sure they were all as accurate as possible and added shadows on another layer at the end.
Hardest part: Matching the colours to look the same.

teal blanket on bed
These style of pictures are always the fastest for me, the main thing is to make the colours work together and that is always determined by the blanket I’m photographing.
Reason for picture: Show off that Teal beauty
Initial Idea: Simple, classic ‘snuggly bed’ shot.
Colour Choice: Obviously it was hugely dictated by the blanket (which worked really well with the lamps – luckily!) I then added the coral pops as they look amazing with the teal. I keep the bedroom neutral for this reason then I can add the colours with products and props.
Time: approx 30 mins (amazingly quick photo start to finish)
Method: Tripod at foot of the bed then I use remote shutter still to prevent any movement.
Process: Quick tidy, aka throw all the crap out of shot onto the floor, add blanket – back and forth to see which colours work on the screen as sometimes it looks nice in real life but doesn’t translate well. Then some fannying about with the pillows, I added the coral cushion but then needed to balance it, so added some wool and needles as props.
Edits: Hardly any for these shots – It’s important that the colours are as accurate as possible and I don’t want it to be a massively photoshopped shoot as it’s just about the REAL product. Generally I just crop and straighten them then increase the brightness if necessary.
Hardest part: Tidying up afterwards :p
Below Images: Took first image totally plain, added more cushions (touch of brown and layered the greys from the bedding as they work well with teal) then threw in the coral cushion. Tried to balance with a spot of colour on my bedside table but still wasn’t enough so for the final image I added the yarn on the bed and also shifted angle so that the bottom of the bed was visible. I pulled the wash basket into the shot for the extra texture and rearranged the pillows (yet again) and the duvet to make it look more squishy… All very minor adjustments that add up and develop quickly.
![]()
![]()
![]()
knitting in the park
I love doing the scenes from the ceiling – another set of images prompted partly by All That Is She… I also love doing Instagram challenges (like Instagrams Weekly Hashtag Project – #WHP) and being inspired by others who produce images like this to create my own version. I started with my Aeroplane ‘art attack’ when I went on holiday and then couldn’t stop!
Reason for picture: Announcement – Looking for a studio in Exeter
Initial Idea: ‘I can take my knitting anywhere’ so why not in the park?
Colour Choice: Essentially I just wanted to wear my favourite Lucy and Yak Dungarees. Everything else just had to work.
Time: approx 1.5 hours, once it’s set up up quite quick but it’s difficult to move/make changes so that slows it down.
Method: Normally for these photos I put the camera in a box and tape it to the ceiling (shown below) but for this one Alex held the tripod up and used the remote shutter on the phone.
Process: Develop the scene, take some shots to see how it’s looking/if it’s balanced etc., then get in it and try not to look strained (literally the hardest thing I’ve ever had to do!)
Edits: It’s pretty much guaranteed these shots will need cropping and straightening, occasionally I edit odd creases out (on photoshop using the clone tool) and in this case I had a ball of wool under my head that needed to be edited out. Also, in this image the blanket initially looked a big small so I mixed it with another shot.
Hardest part: Tidying up afterwards :p
I took lots of shots because my neck & face kept looking strained. I then changed into a grey top which was better but I didn’t like them in the end (my face and hair looked weird in all of them!) Once I uploaded them I mark my favourite to narrow it down and choose from there.

A few final Hacks
May my embarrassing truths be useful to you…