

 (1)")


Hello Pals,
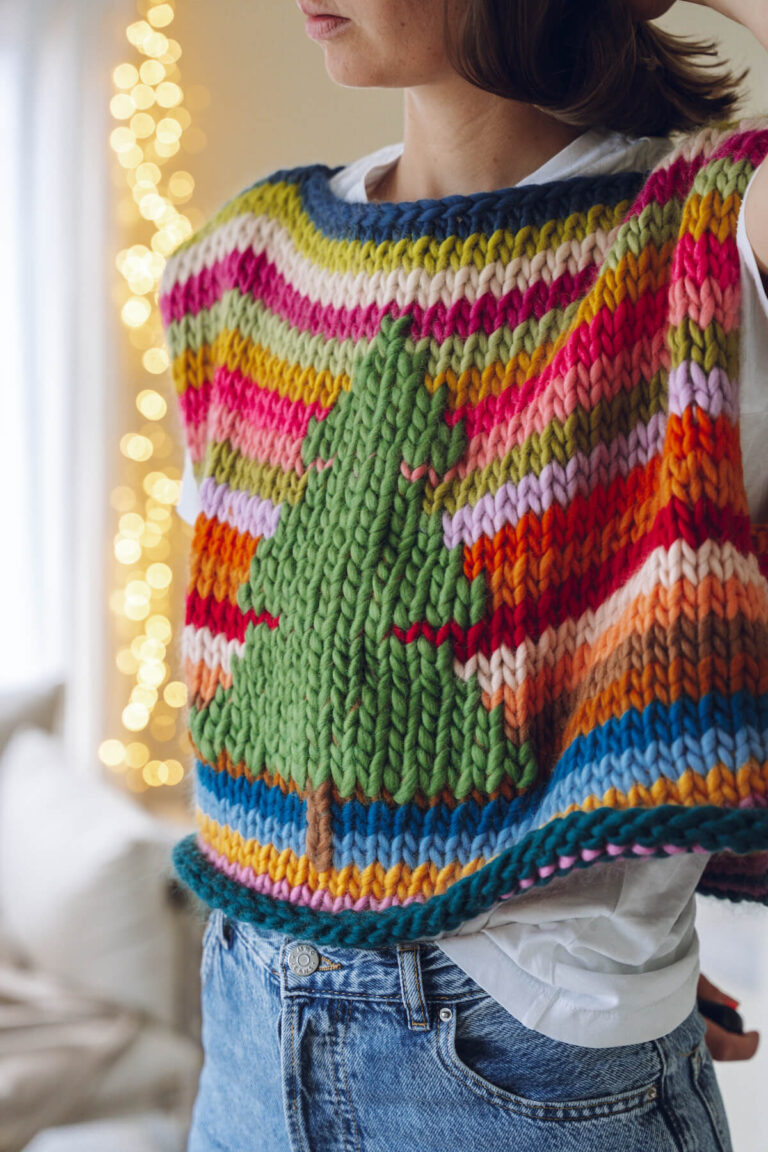
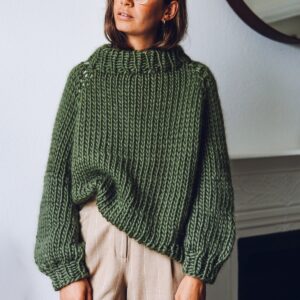
You’ve probably seen or heard (because we have not stopped shouting about it) that the GLORIOUS Queen-of-knitwear herself, Claudia Winkleman wore our Roll Up Knit Down Jumper on Season 2 of the traitors recently. It’s even been coined as ‘Claudia’s Green Jumper’ and we couldn’t be more proud!!
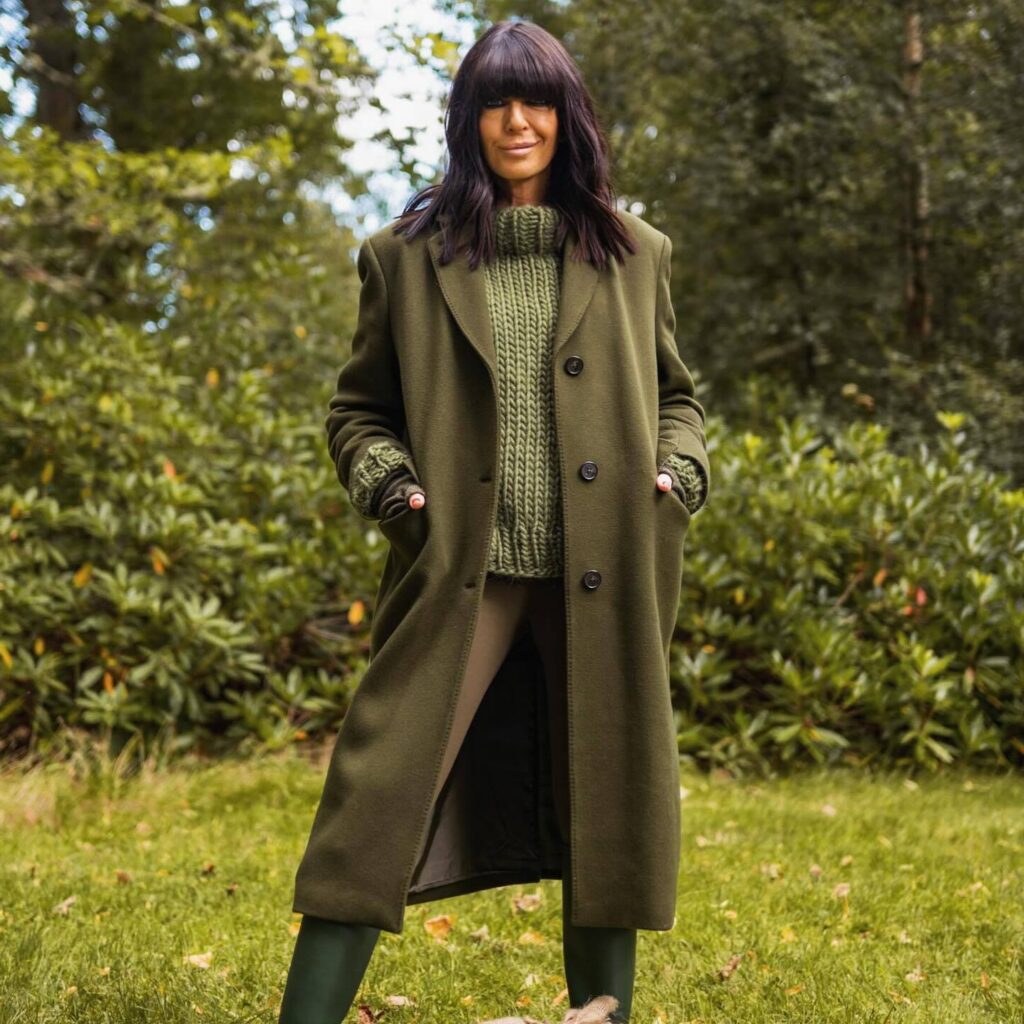
Thanks to Claud (and her fabulous stylist Sinead for finding us) we have sold a record number of this design now in every which way it comes. We offer the Knitting pattern, knitting kit and we also sell it as a commission knit where we can make it for customers (we’ve never had this many commissions before, we’re going like the wind!!!)
-
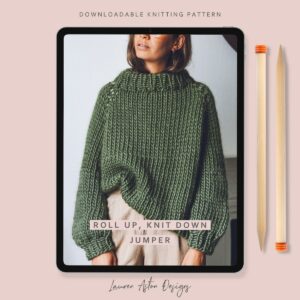
Roll up Knit down Jumper – Knitting Pattern
£7.00 Add to basket -
Knitting Kit – Roll up Knit down Jumper
£91.00 Select options -
Commission Roll up Knit down Jumper
£225.00 Select options This product has multiple variants. The options may be chosen on the product page
Because of the amazing popularity of this design I thought I’d do a quick run through of the knitting pattern and share some ‘how-to’ videos for anyone who might want a little knit-a-long. Hopefully I’ll cover everything but if you have any further questions we’re always here to help 😀
Roll Up Knit Down Knit-a-long
Starting points
I want to start with a few (hopefully) helpful links. Firstly a blog about how to read our knitting patterns (some of the information/images are a little out of date now since we’ve rebranded but the content still applies) It talks you through all the information included in our patterns and little tips and tricks that might help.
Another useful article is this one about knitting tension. It’s never been a huge problem with this jumper but always useful information to bear in mind!
And finally a few tools that (while we’ve been knitting so many commissions of these) I’ve found super helpful…
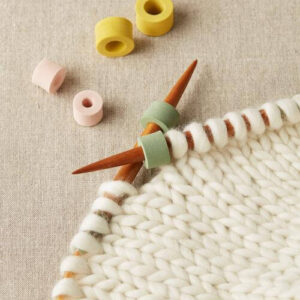
1. Stitch Stoppers so you can put your knitting down and not drop a stitch
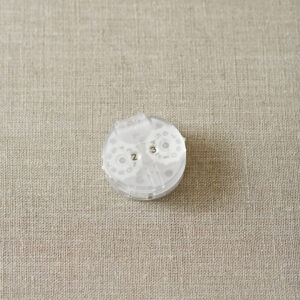
2. The Row Counter is particularly useful for the first part of the pattern while you’re increasing your stitches so you keep track
3. Measuring tape is super handy to avoid constantly trying it on as you go.
4. I’d also recommend a knitting notepad for making notes and tallying stitches as you go.
-
Stitch Stoppers
£2.00 Select options This product has multiple variants. The options may be chosen on the product page -
Row Counter
£18.00 Add to basket -

Colourful Tape Measure
£18.00 Select options This product has multiple variants. The options may be chosen on the product page
Let's get knitting...
All of the information that you need, from materials, needles and tools and a break down of the abbreviations is on one page of the pattern. You can also find a lot of this information on the product listings for the knitting kit and knitting pattern so you’re prepared before you invest.
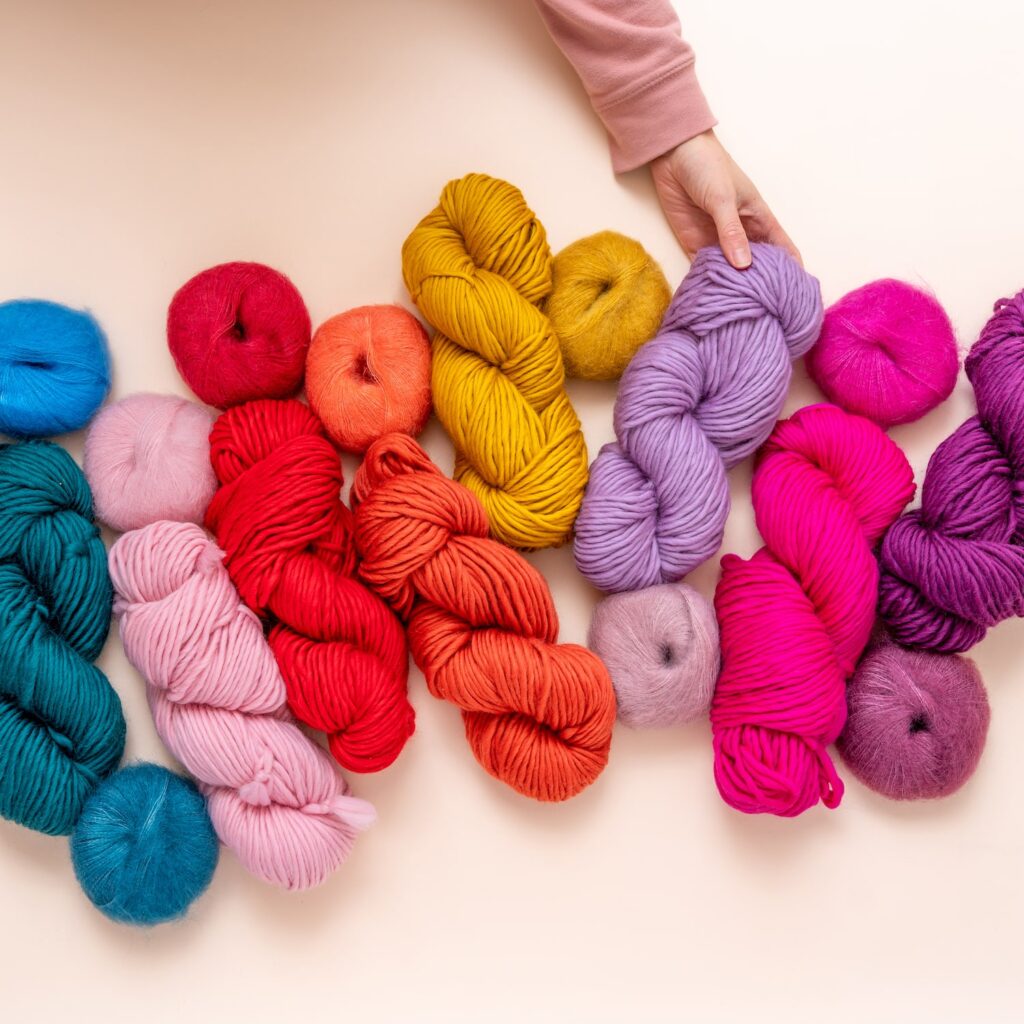
We talk you through the workflow so you know what to expect and about applying colour – This design is available as a plain knit, 2 colour striped or rainbow Jumper, all of which are broken down so you know what to do if you’re knitting in more than one colour.
Knitting in the round...
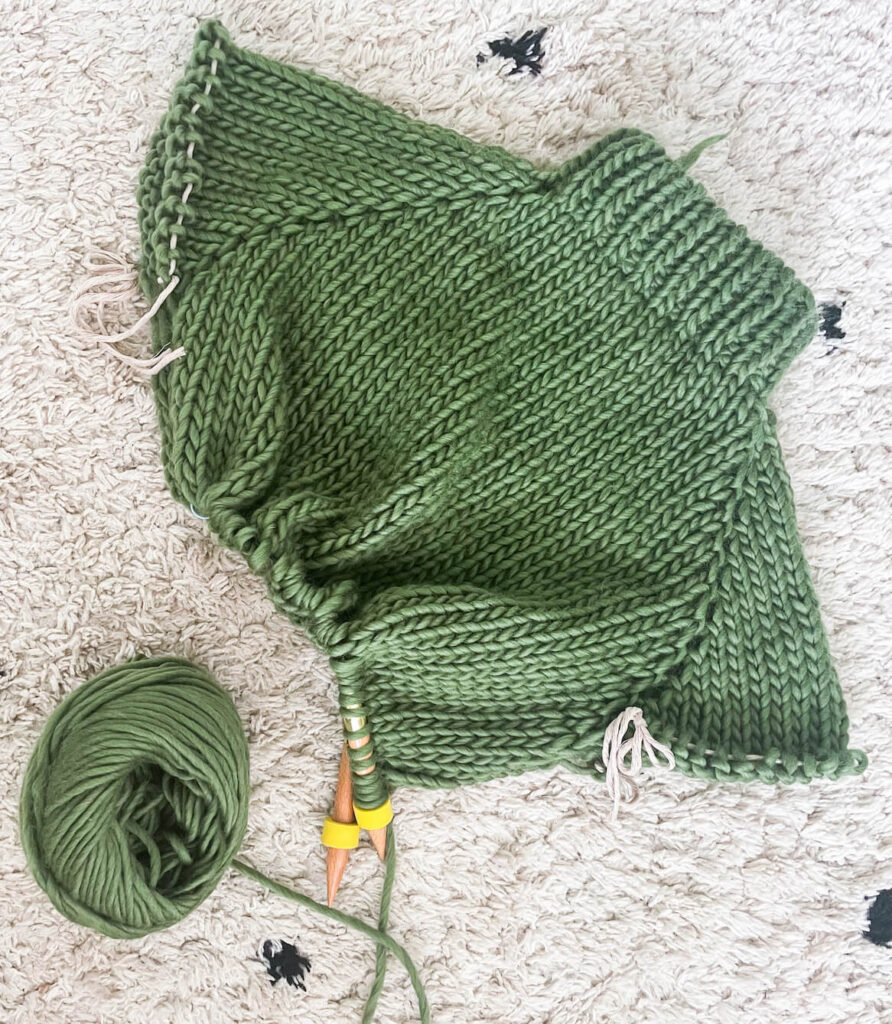
By this point in the pattern we’re ready to start knitting. You use 2 sizes of knitting needles and work in the round from the top down for this jumper.
As this is an intermediate design I assume you already know how to work the basic Knit & Purl stitches as well as a cast on… but I have added links here in case you want to see some videos for guidance)
If you’re new to working in the round: Congratulations – it’s the bloody best! So many people put it off but once you start you’ll never want to go back to straight needles again!
Here’s a video to help you cast on in circular needles and not only is there more information on our ‘circular needles’ how-to-knit page but we also have a blog all about working with circular needles.
Double Roll Neck
I’m going to jump to the first technique that you might want help with – the double roll neck. Like so much of knitting it’s a simple job but can seen scary when you first come up against it. Here’s a video of how to work a double roll neck and our How-to-knit page has a more detailed description should you want more info…
Row 16
The next hurdle some customers get a bit stuck on is Row 16. When you first approach it, this row reads a little on the scary side, but I promise it all adds up.
Our advice is ALWAYS to take it one step at a time, check the abbreviations on the pattern information page (so you know that PM means ‘place marker’ for example) and just go 1 instructions at a time. I promise it’s straight forward when you stop being scared of it (you’ve totally got this babes!)
Also a friendly reminder here that you’re working on circular knitting needles therefore you do not need to purl any full rounds – When working on Circular needles, to create stockinette stitch you knit every row (because you’re not turning the work it will always result in the knit stitches sitting the same direction on the fabric)
Make 1 (M1)
Next up is the Make 1 situation… Row 17 sets the scene for the next portion of the pattern this means that it starts off a little slow.
The pattern calls for you to ‘knit to marker’ in some sections, this can confuse some knitters to begin with as there’s only 1 stitch in a section but don’t overthink it. Work that 1 stitch and then you’re at the marker… that’s it. So often we speak to lovely new knitters who are doing a great job but their downfall is overthinking the instructions. (So so easily done and I empathise fully! I just want you to have faith in yourself because you are doing great…) if it says ‘knit to marker’… knit to the marker babe, that’s it!
We also introduce our ‘make one’ technique around here. The important thing to remember when ‘making’ a stitch is that you use the bar between the stitches (not a stitch itself) to create a new stitch… If you’re used to knitting into the front and back of a stitch this may confuse you as you’ll be searching for the stitch to use when there isn’t one… it’s all about the bar in the middle.
On this pattern you often knit to a marker, make 1 stitch from/into the bar before the marker then you slip the marker and carry on.
Here’s a video of the technique and again more information can be found on the Make 1 How-to-knit page should you want it.
Break it down now
The pattern is then broken down into size so you’ll look for the instruction that relates to the size you’re knitting and ignore the other instructions.
Split for Sleeves
By this point you’ve worked the neckline and shoulders of your jumper (becasue we’re working form the top down) and you’ve basically reached the armpits of the jumper. We now need to hold a section of stitches either side for your sleeves.
You come back to these sections later after joining the front and back stitches together in one piece to form the body and working that on it’s own.
To hold your stitches use a stitch holder if you have one – or grab a tapestry needle and some spare yarn and thread the sleeve stitches (the pattern tells you how many and where etc) onto the spare yarn, knotting it to keep them secure. They will just sit there chilling while you continue to work on the body.
Picking up your Sleeve Stitches
Once you’ve finished the body it’s time to go back to your sleeve stitches.
You simply place each of the held stitches onto your needles so they become ‘live’ again. When you start knitting make sure you’re knitting into the correct side so you don’t flip the sleeves to be inside out…
You always want to be knitting into the ‘right’ side of the knit (the side that looks like ‘V’s) when working in the round in stockinette stitch.
Many of our knitting patterns call for you to ‘pick up and knit’ a few stitches at the ‘armpit’ of the sleeve – this helps to cinch any gap from where you left off – often you’ll then decrease those stitches over the following rounds so you don’t have additional stitches hanging around.
The video below shows how to ‘pick up and knit’ – this is shown as picking up end stitches as a trim so it starts with no stitches on the needles which is slightly different to the ‘armpit’ stitches where you’ll already be set up in the round, with your sleeve stitches on the needles – however the technique of inserting your needles into the ‘stitch gap’ is the same…
Decreasing
There’s a small amount of decreasing used in this pattern to cinch some sections in. We simply use Knit 2 Together (K2tog) Which is where you insert your right hand needle into TWO stitches on your left hand needle and work them as though they’re one stitch.
And that's all there is to it!
Believe it or not, that covers all the techniques used in our Roll Up, Knit Down Jumper!
I hope you agree it doesn’t seem too scary at all! While I totally appreciate when you’re learning new techniques it can feel really overwhelming, when you tackle them one at a time and keep calm they tend to come together quickly.
I hope that helps!
I really hope that’s helpful m’darlin’s – fingers crossed it gives you the confidence to whip up our gorgeous Roll Up Knit Down jumper.
Remember we’re always just an email away, we have an amazingly supportive Facebook group (search ‘Lauren Aston Designs Knitting Club’ on facebook) and if you’re local to us in Exeter you can pop into our knitting shop anytime and ask for support (or just come for a chat!)
Take care & Happy knitting friends!